Creating a custom report on the Kik messenger database
In this article, I want to take you through the process of creating a custom, but simple, report on a Kik messenger database step by step. As we work through the process we will choose which columns we think will be useful in our report and modify our report by creating simple visual SQL joins on different tables.
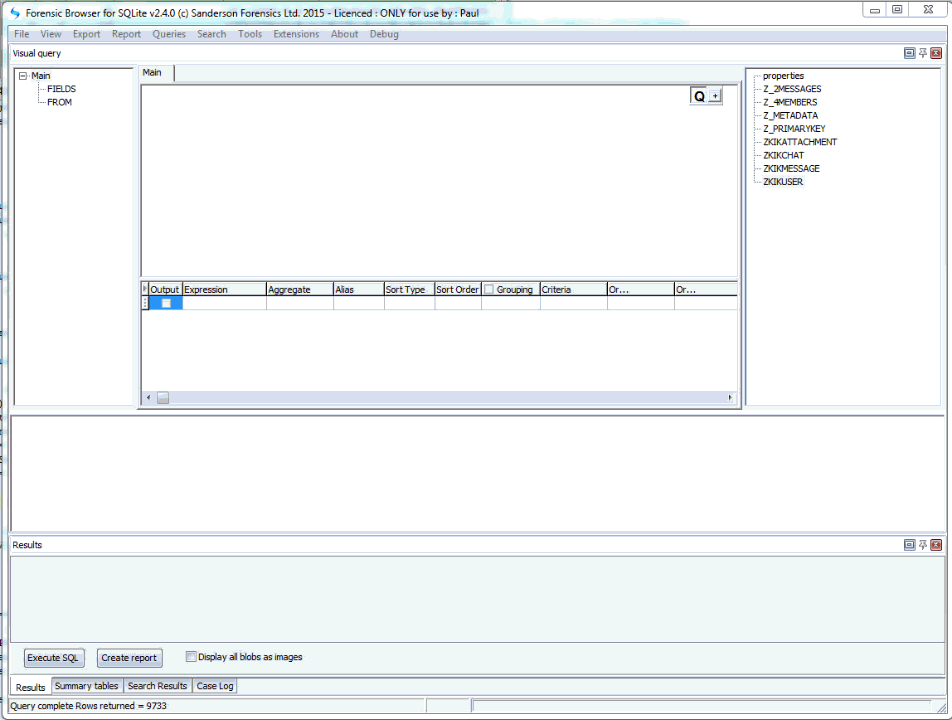
The first step when looking at a new database is to have a quick look at all of the tables to get a feel for the data that’s in them and see how we might start building our report. I use the “summary tables” tab to quickly review each table, in turn, there are three tables that seemed to immediate deserve some further attention:
XKIKMESSAGE – Contains the message text and some timestamps but does not contain a user name, it does, however, have a ZUSER column which would seem to be a user number.

There is also a ZKIKUSER table with user details, this almost certainly links to the ZKIKMESSAGE table and Z_PK (Primary Key) is almost certainly the user number referred to above.

Finally there is a ZKIKATTACHMENT table again with a timestamp column and a content column that could do with some further investigation

The first query is a visual query linking the ZKIKMESSAGE table with the ZKIKUSER table so that we can attribute a user name to each message. I won’t go into the mechanics of all the different types of JOINS available in SQLite here (there is an article dealing with this on my web site), I will just say that as we want a join with every row in the messages table matching up with a row from the users table, we need a LEFT JOIN (the Forensic Browser default). I’ll also now start to select the different columns that I may want in my final report (I can always change this later). In the animated gif below you can see the process and watch the SQL commands being built for you:
Because I like to start to tidy my reports up early I can now choose to display the two dates in a more meaningful format. In this table in Kik the dates are Mac Absolute format so I choose that format for all values in a column by right clicking on the relevant column and selecting the “display as” menu option. I can then choose the display format and timezone (I’ll set this to Mountain Standard Time).

So what about attachments? The first thing to do is to JOIN the attachments table in the same way as we did the users table. From the summary tables above we can see that the best join candidate is to use the Z_PK (primary key) of the messages table and the ZMESSAGE field of the attachment table. We will again use a LEFT JOIN as we want all the rows from the messages table and just the matching values from the ZKIKATTACHMENT table (where there is no match any new columns will be blank). I have chosen to include the attachment timestamp and the content columns form this table. Again we can see the SQL commands being built and starting to look quite complex although we have not typed a single line of SQL code.

This report gives us a column with a date for any attachment and a column called “content”. Further research shows that strings in the content filed are file names and that these files are binary Plists that contain jpgs (the attachments). How these Plists are decoded is beyond the scope of this article (there is another on my web site that deals with these), however, there is a Forensic Browser extension callable from the extensions menu that decodes these Plists and imports the jpgs within each Plist into a new table within the Browser case file. It is then a simple matter to make a final JOIN on this new table to include these pictures in the report. I finally add “is not null” to the column holding the picture to display just those messages that related to an attachment.
The animated gif below shows this process: the extension is run, a JOIN is made on the new table, a report is executed and then modified to show only those records that refer to attachments.
